标签:Web Exchange Server Step Install 2016
Installing Exchange 2016 on Windows Server 2016 Step by Step
Installing exchange server 2016 step by step on Windows Server 2016.
Make sure windows are patches with the latest updates. So that you have all the latest .net versions installed.
Before Exchange 2016 Install – Go through the Minimum system requirements below – Note Preview versions are not Production ready.
Minimum System Requirements and Forest Functional Level for Exchange Server 2016
You can Download the Exchange Server 2016 CU15 Setup using the below Link
Cumulative Update 20 for Exchange Server 2016
Step 1:
To Prepare Active Directory using the same machine.
Install the Below Feature which installs the Active Directory Tools as well.
Open Windows PowerShell.
Install-WindowsFeature RSAT-ADDS
|

Step 2:
Install Required Roles.
Open Windows PowerShell
Install-WindowsFeature NET-Framework-45-Features, RPC-over-HTTP-proxy, RSAT-Clustering, RSAT-Clustering-CmdInterface, RSAT-Clustering-Mgmt, RSAT-Clustering-PowerShell, Web-Mgmt-Console, WAS-Process-Model, Web-Asp-Net45, Web-Basic-Auth, Web-Client-Auth, Web-Digest-Auth, Web-Dir-Browsing, Web-Dyn-Compression, Web-Http-Errors, Web-Http-Logging, Web-Http-Redirect, Web-Http-Tracing, Web-ISAPI-Ext, Web-ISAPI-Filter, Web-Lgcy-Mgmt-Console, Web-Metabase, Web-Mgmt-Console, Web-Mgmt-Service, Web-Net-Ext45, Web-Request-Monitor, Web-Server, Web-Stat-Compression, Web-Static-Content, Web-Windows-Auth, Web-WMI, Windows-Identity-Foundation, RSAT-ADDS
|

To check the .Net Version on Windows Server 2016 – It recommended to patch the .net to latest supported version and then install Exchange
(Get-ItemProperty -Path 'HKLM:\SOFTWARE\Microsoft\NET Framework Setup\NDP\v4\Full' ).Release
|
Install .Net 4.8
https://go.microsoft.com/fwlink/?linkid=2088631
Install
Visual C++ Redistributable Package for Visual Studio 2012
Visual C++ Redistributable Package for Visual Studio 2013
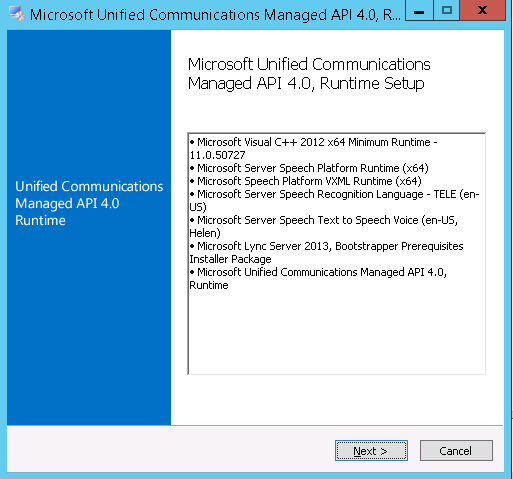
Step 3
Download and Install Unified Communications Managed API 4.0 Runtime
Step 4:
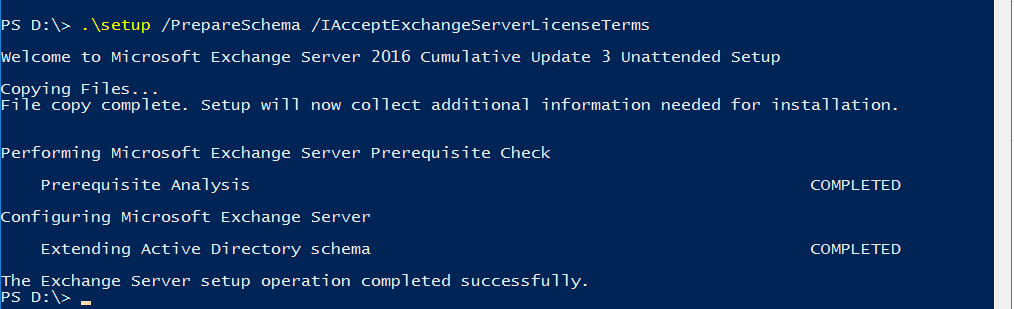
Preparing Schema
Open Windows PowerShell – Browse to Setup Location – Run as administrator.
.\setup /PrepareSchema /IAcceptExchangeServerLicenseTerms
|
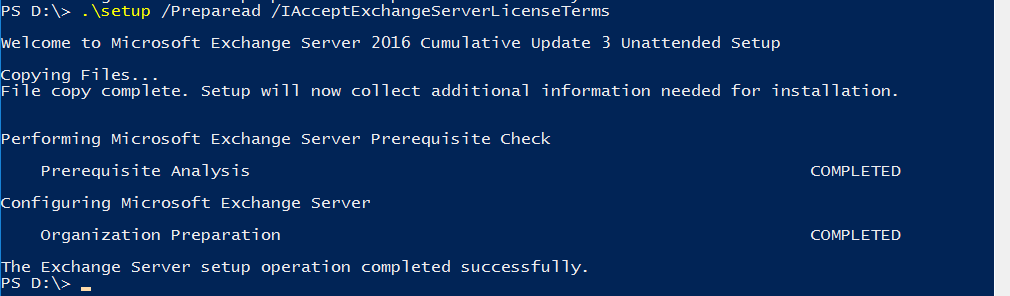
Step 5:
Preparing Active Directory
.\setup /Preparead /IAcceptExchangeServerLicenseTerms /OrganizationName:"Enter Exchange Org Name"
|
Note: If you are already in an Exchange Organization – Remove /OrganizationName Parameter
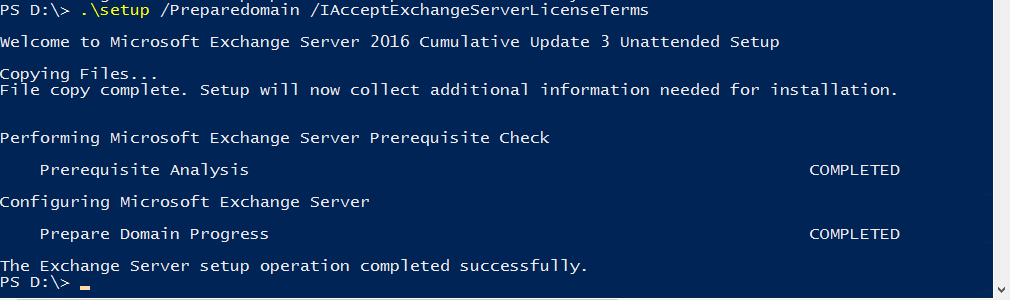
Step 6:
Preparing Domain
.\setup /Preparedomain /IAcceptExchangeServerLicenseTerms
|
Note :
If you are in a Child domain Scenario
.\setup /Preparealldomains /IAcceptExchangeServerLicenseTerms
|
Step 7:
Run as Administrator – setup.exe
Choose Next, Accept the agreement.
Step 8:
Choose the Mailbox Role.
Choose Next
Note:” Edge Transport Role” should be installed in DMZ. (if required)

Step 9:
Choose Next
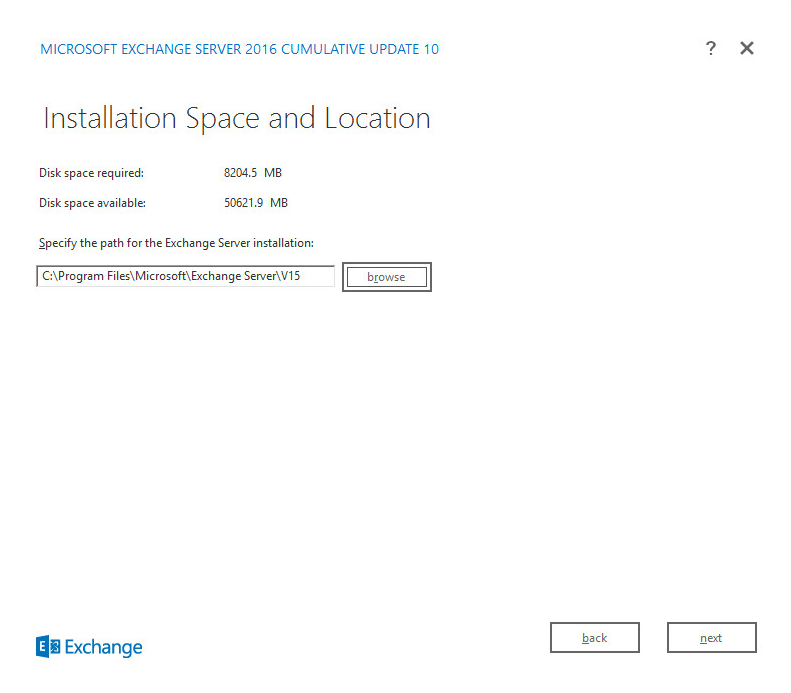
You can always move the Database path for Exchange Databases and log files to a separate drive.
How to move database path and log folder path in Exchange 2013/2016
Step 10:
Choose Next
If you already Did “Step 4” you won’t see an option to create an organization. As Already Exchange Org is already created
Else Enter an Org Name.
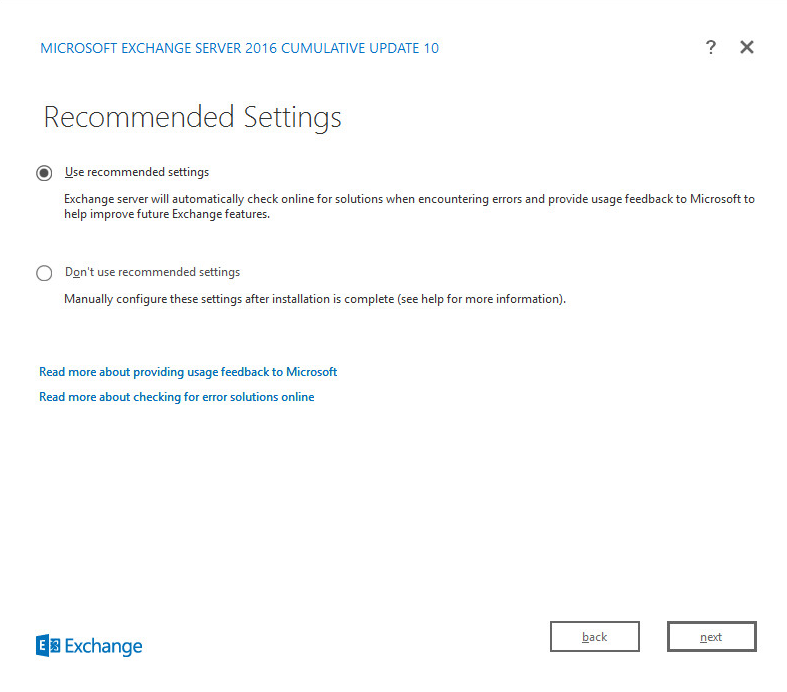
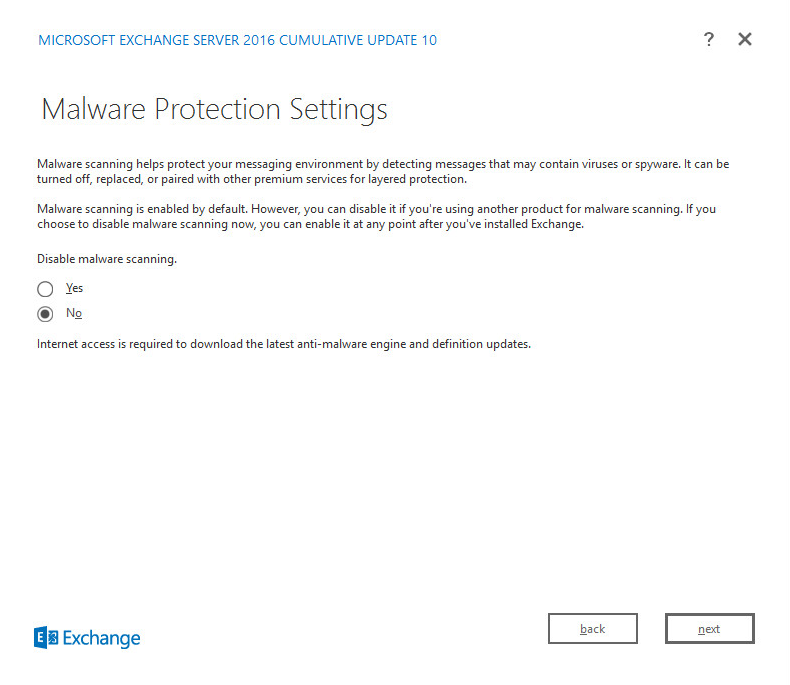
Step 11:
Choose “No” for Malware Scanning
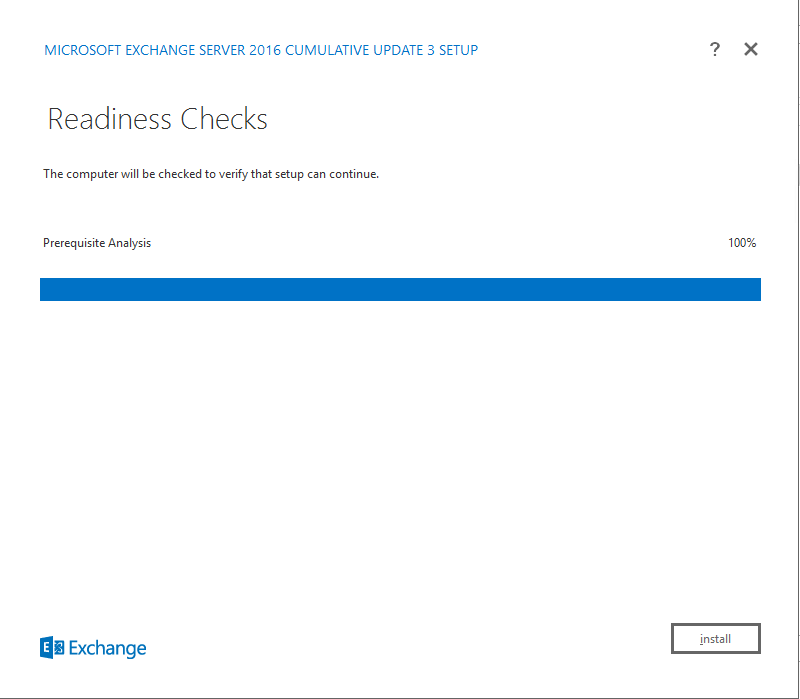
Step 10:
Choose Install
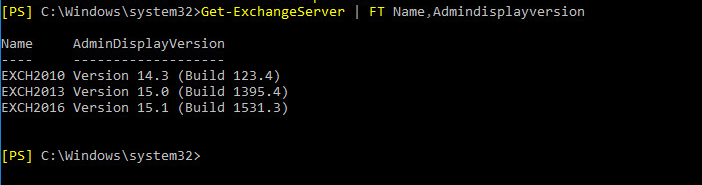
Microsoft Exchange Server 2016 – Setup Completed Successfully.
Get-ExchangeServer| FT Name,Admin*
|
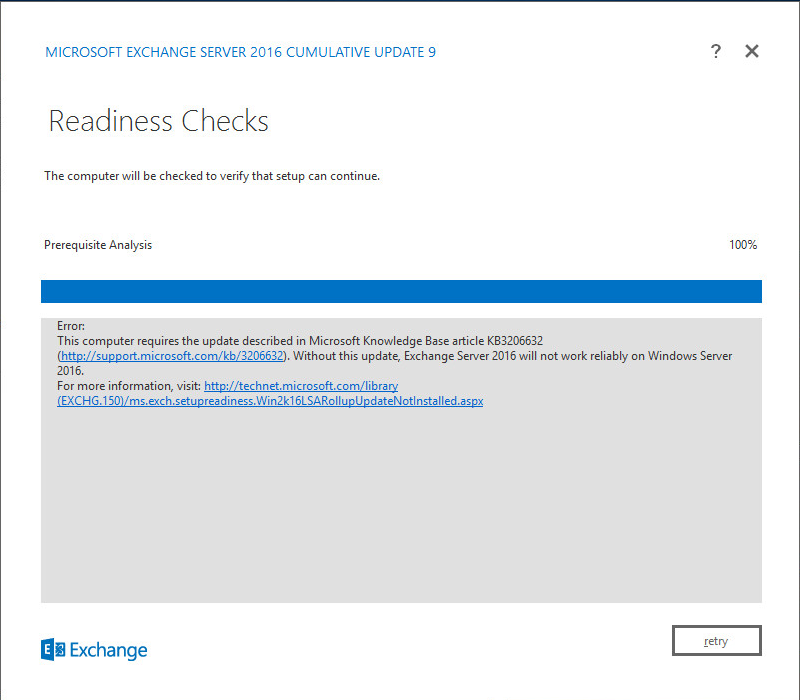
Known error –
if you have a hybrid object which needs an upgrade.
.\setup /PrepareSchema /IAcceptExchangeServerLicenseTerms
Microsoft Exchange Server 2016 Cumulative Update 20 Unattended Setup
Copying Files…
File copy complete. Setup will now collect additional information needed for installation.
Performing Microsoft Exchange Server Prerequisite Check
Prerequisite Analysis FAILED
A hybrid deployment with Office 365 has been detected. Please ensure that you are running setup with the
/TenantOrganizationConfig switch. To use the TenantOrganizationConfig switch you must first connect to your Exchange
Online tenant via PowerShell and execute the following command: “Get-OrganizationConfig | Export-Clixml -Path
MyTenantOrganizationConfig.XML”. Once the XML file has been generated, run setup with the TenantOrganizationConfig
switch as follows “/TenantOrganizationConfig MyTenantOrganizationConfig.XML”.
If you continue to see this this message
then it indicates that either the XML file specified is corrupt, or you are attempting to upgrade your on-premises
Exchange installation to a build that isn’t compatible with the Exchange version of your Office 365 tenant. Your Office
365 tenant must be upgraded to a compatible version of Exchange before upgrading your on-premises Exchange
installation. For more information, see: http://go.microsoft.com/fwlink/?LinkId=262888
For more information, visit: http://technet.microsoft.com/library(EXCHG.150)/ms.exch.setupreadiness.DidTenantSettingCrea
tedAnException.aspx
Connect-ExchangeOnline
|
Export the config to XML File.
Get-OrganizationConfig | Export-Clixml -Path "MyTenantOrganizationConfig.XML"
|
Do Prepare AD first with the XML file. Then the prepare schema as prepare schema doesn’t support TenantOrganizationConfig switch.
.\setup /Preparead /IAcceptExchangeServerLicenseTerms /TenantOrganizationConfig "C:\scripts\MyTenantOrganizationCon<br />fig.XML"
|
标签:Web,Exchange,Server,Step,Install,2016 来源: https://www.cnblogs.com/yaoyangding/p/14822928.html
本站声明: 1. iCode9 技术分享网(下文简称本站)提供的所有内容,仅供技术学习、探讨和分享; 2. 关于本站的所有留言、评论、转载及引用,纯属内容发起人的个人观点,与本站观点和立场无关; 3. 关于本站的所有言论和文字,纯属内容发起人的个人观点,与本站观点和立场无关; 4. 本站文章均是网友提供,不完全保证技术分享内容的完整性、准确性、时效性、风险性和版权归属;如您发现该文章侵犯了您的权益,可联系我们第一时间进行删除; 5. 本站为非盈利性的个人网站,所有内容不会用来进行牟利,也不会利用任何形式的广告来间接获益,纯粹是为了广大技术爱好者提供技术内容和技术思想的分享性交流网站。