标签:business Power column App rule rules action select
Create business rules and recommendations to apply logic in a model-driven app form
Effective November 2020:
- Common Data Service has been renamed to Microsoft Dataverse. Learn more
- Some terminology in Microsoft Dataverse has been updated. For example, entity is now table and field is now column. Learn more
This article will be updated soon to reflect the latest terminology.
This topic shows you how to create business rules and recommendations to apply form logic in a model-driven app without writing JavaScript code or creating plug-ins. Business rules provide a simple interface to implement and maintain fast-changing and commonly used rules. They can be applied to Main and Quick Create forms, and they work in model-driven apps, legacy web apps, Dynamics 365 for tablets, and Dynamics 365 for Outlook (online or offline mode).
By combining conditions and actions, you can do any of the following with business rules:
-
Set column values
-
Clear column values
-
Set column requirement levels
-
Show or hide columns
-
Enable or disable columns
-
Validate data and show error messages
-
Create business recommendations based on business intelligence.
Note
To define a business rule for a table so that it applies to all forms, see Create a business rule for a table.
Business rules don’t work with multi-select choices.
Create a business rule or business recommendation
-
Sign in to Power Apps.
-
Expand Data, select Tables, select the table you want, and then select the Business rules tab.
-
On the command bar, select Add business rule.
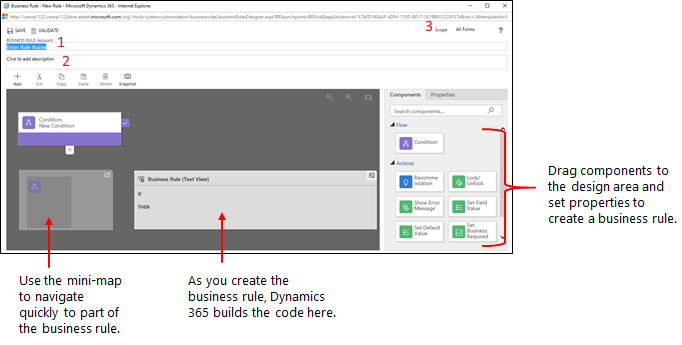
The Business Rule designer window opens with a single condition already created for you. Every rule starts with a condition. The business rule takes one or more actions based on that condition.

Tip
If you want to modify an existing business rule, you must deactivate it before you can modify it.
-
Add a description, if you want, in the description box in the upper-left corner of the window.
-
Set the scope, according to the following:
If you select this item... The scope is set to... Table All forms and server All Forms All forms Specific form (Account form, for example) Just that form -
Add conditions. To add more conditions to your business rule:
-
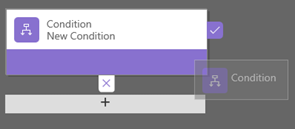
Drag the Condition component from the Components tab to a plus sign in the designer.

-
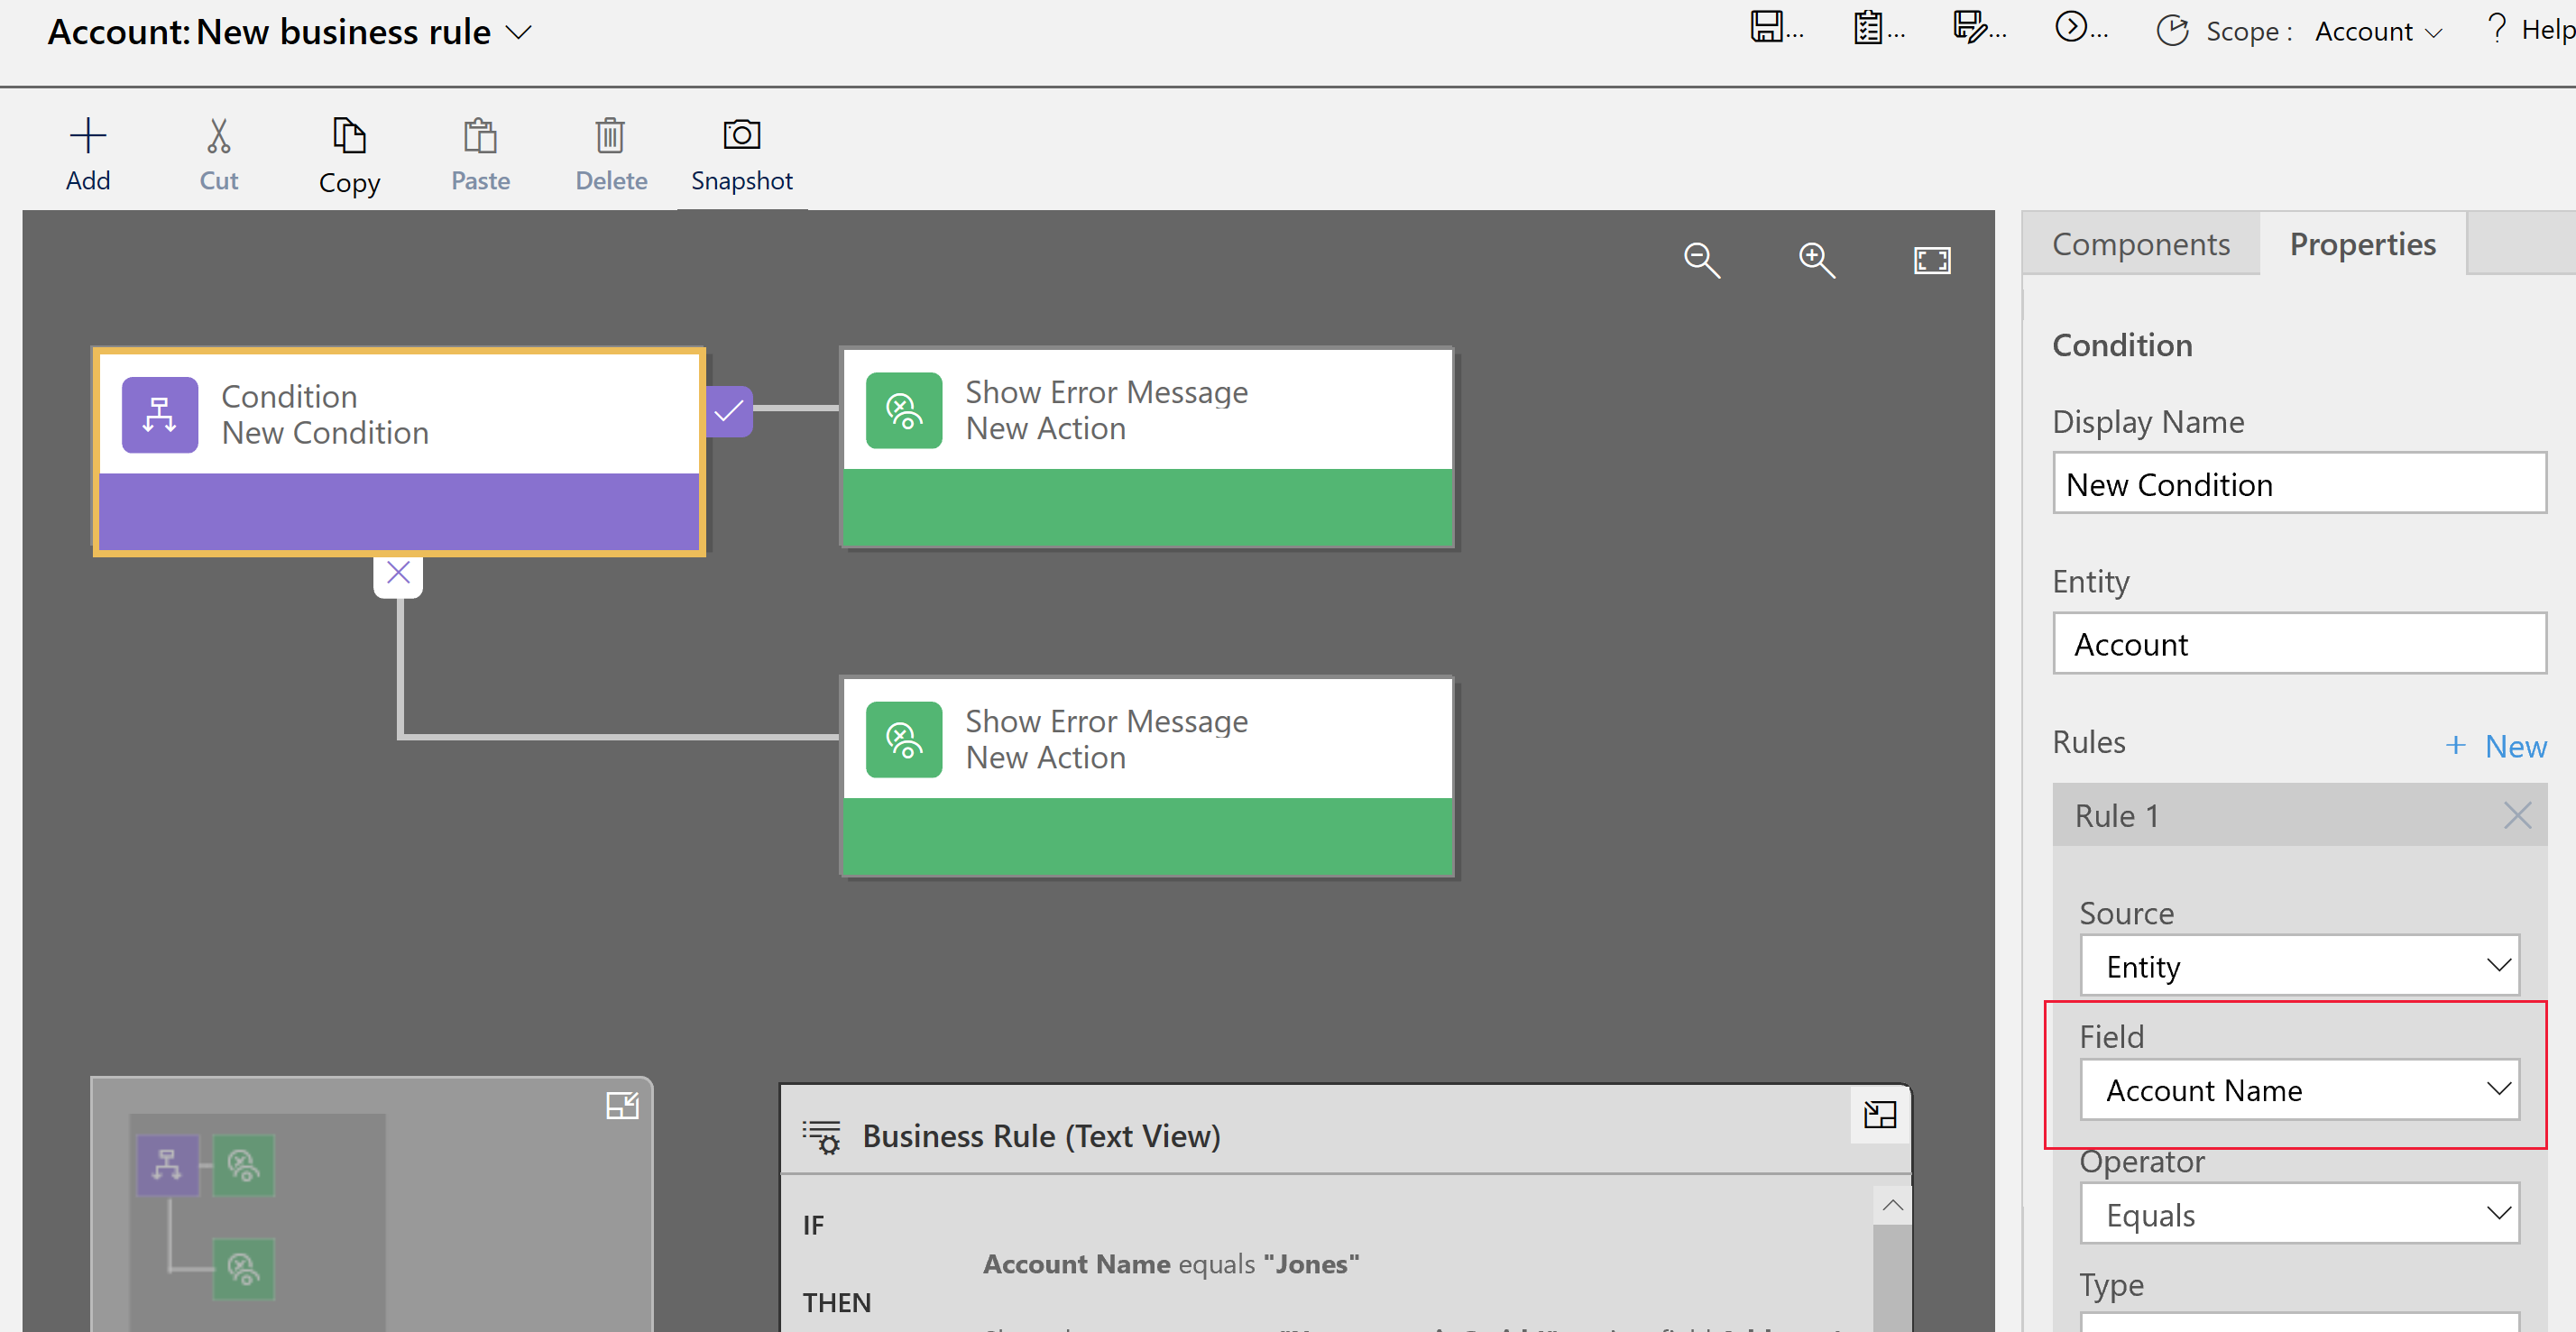
To set properties for the condition, select the Condition component in the designer window, and then set the properties in the Properties tab on the right side of the screen. As you set properties, an expression is created at the bottom of the Properties tab.
-
To add an additional clause (an AND or OR) to the condition, select New in the Properties tab to create a new rule, and then set the properties for that rule. In the Rule Logic column, you can specify whether to add the new rule as an AND or an OR.

-
When you're done setting properties for the condition, select Apply.
-
-
Add actions. To add an action:
-
Drag one of the action components from the Components tab to a plus sign next to Condition component. Drag the action to a plus sign next to a check mark if you want the business rule to take that action when the condition is met, or to a plus sign next to an x if you want the business rule to take that action if the condition is not met.

-
To set properties for the action, select the Action component in the designer window, and then set the properties in the Properties tab.
-
When you're done setting properties, select Apply.
-
-
Add a business recommendation. To add a business recommendation:
-
Drag the Recommendation component from the Components tab to a plus sign next to a Conditioncomponent. Drag the Recommendation component to a plus sign next to a check mark if you want the business rule to take that action when the condition is met, or to a plus sign next to an x if you want the business rule to take that action if the condition is not met.
-
To set properties for the recommendation, select the Recommendation component in the designer window, and then set the properties in the Properties tab.
-
To add more actions to the recommendation, drag them from the Components tab, and then set properties for each action in the Properties tab.
Note
When you create a recommendation, a single action is added by default. To see all the actions in a recommendation, select Details on the Recommendation component.
-
When you're done setting properties, select Apply.
-
-
To validate the business rule, select Validate on the action bar.
-
To save the business rule, select Save on the action bar.
-
To activate the business rule, select it in the Solution Explorer window, and then select Activate. You can't activate the business rule from the designer window.
Tip
Here are a few tips to keep in mind as you work on business rules in the designer window:
- To take a snapshot of everything in the Business Rule window, select Snapshot on the action bar. This is useful, for example, if you want to share and get comments on the business rule from a team member.
- Use the mini-map to navigate quickly to different parts of the process. This is useful when you have a complicated process that scrolls off the screen.
- As you add conditions, Actions, and business recommendations to your business rule, code for the business rule is built and appears at the bottom of the designer window. This code is read-only.
Localize error messages used in business rules
If you have more than one language provisioned for your organization, you will want to localize any error messages that you have set. Each time you set a message, a label is generated by the system. If you export the translations in your organization, you can add localized versions of your messages and then import those labels back into the system, so that people using languages other than your base language can view the translated messages.
Common issues
This section describes common issues that may occur when you use business rules.
Full Name column and Address column not supported with Unified Interface apps
Actions or conditions that use a composite column like the Full Name (fullname) column or an Address column aren't supported in apps based on the Unified Interface. Alternatively, you can use actions or conditions with the constituent columns. For example, for the Full Name column, you can use actions or conditions on the First Name(firstname) and Last Name (lastname) columns.
Business rules don't fire on editable grid on a dashboard
Entity scoped business rules will not fire on an editable grid when the editable grid is configured on a dashboard page.
Is your business rule not firing for a form?
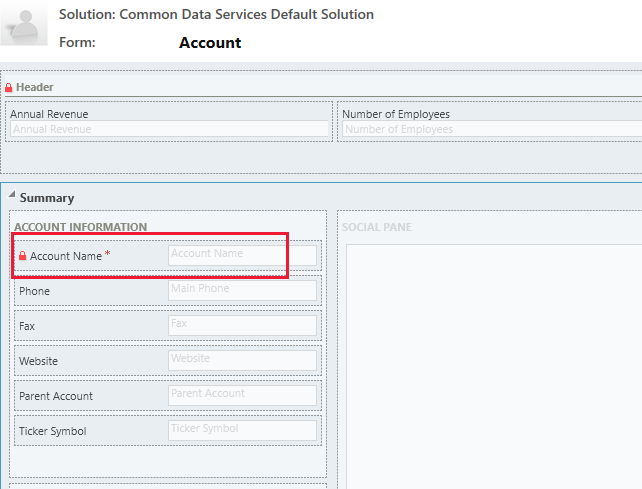
A business rule may not execute because the column referenced in the business rule isn't included with the form.
-
Open solution explorer. Expand the table that you want and then select Forms.
-
Open the form that you want and then on the form designer ribbon select Business Rules.
-
In the form designer, open the business rule.
-
In the business rule designer select each condition and action to verify all the columns referenced in each condition and action.

-
Verify that each column referenced in the business rule is also included on the form. If not, add the missing column to the form.

A business rule may also not execute because a column referenced in the business rule is a composite column. You can use the constituent columns of the composite column instead.
标签:business,Power,column,App,rule,rules,action,select 来源: https://www.cnblogs.com/lingdanglfw/p/13992548.html
本站声明: 1. iCode9 技术分享网(下文简称本站)提供的所有内容,仅供技术学习、探讨和分享; 2. 关于本站的所有留言、评论、转载及引用,纯属内容发起人的个人观点,与本站观点和立场无关; 3. 关于本站的所有言论和文字,纯属内容发起人的个人观点,与本站观点和立场无关; 4. 本站文章均是网友提供,不完全保证技术分享内容的完整性、准确性、时效性、风险性和版权归属;如您发现该文章侵犯了您的权益,可联系我们第一时间进行删除; 5. 本站为非盈利性的个人网站,所有内容不会用来进行牟利,也不会利用任何形式的广告来间接获益,纯粹是为了广大技术爱好者提供技术内容和技术思想的分享性交流网站。
