标签:name 配置 js luffy user Luffy import css 前台
目录二次封装Response
utils/reponse.py
from rest_framework.response import Response


class APIReponse(Response):
    # 将父类的status重名http_status
    def __init__(self, status=100, msg='成功', http_status=None, template_name=None, headers=None, exception=False,
                 content_type=None, **kwargs):
        data = {
            'status': status,
            'msg': msg
        }
        if kwargs:
            # kwags接收除了处初始化规定的参数以外的参数,也用于更新字典
            data.update(kwargs)
        super.__init__(data=data, status=http_status,
                       template_name=template_name, headers=headers,
                       exception=exception, content_type=content_type)
后台数据库配置
命令操作
# 创建数据库
create database luffy default charset=utf8;

# 创建用户并授权
## 查看用户
### 5.7之前版本
select user,host,password from mysql.user;
### 5.7往后的版本
select user,host,authentication_string from mysql.user;

## 创建用户
### 授权账号命令:grant 权限(create, update) on 库.表 to '账号'@'host' identified by '密码'
## 这里授权所有权限
grant all privileges on luffy.* to 'luffy'@'%' identified by '7410';
grant all privileges on luffy.* to 'luffy'@'localhost' identified by '7410';

## 刷新权限表
flush privileges;
pycharm连接
## 项目配置文件加入
   'default': {
        'ENGINE': 'django.db.backends.mysql',
        'NAME': 'luffy', # 数据库名字
        'USER': 'luffy', # 用户名
        'PASSWORD': '7410',
        'HOST': '7410',
        'PORT': 3306
    }
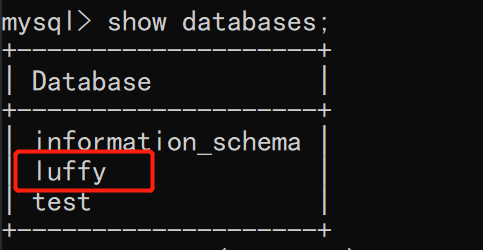
然后再登录查看数据库只能查看luffy库
django操作mysql
方式一
模式使用MysqlDB来操作,MysqlDB在python3.x以后不存在了
方式二
使用pymysql替换,django2.0.7版本及以上,如果使用pymysql替换,需要改django源码
import pymysql
pymysql.install_as_MySQLdb()
不改报错:AttributeError: 'str' object has no attribute 'decode'

query = query.decode(errors='replace')
# 改成
query = query.encode(errors='replace')
所以不推荐改源码这种形式
推荐使用mysqlclient模块,其实就是MysqlDB在python3.x以后使用的版本,只不过变成了mysqlclient,使用mysqlclient不需要写两句话,不用改源码
如果装mysqlclient报以下错,可参考:
下载成功可以使用pycharm连接一下
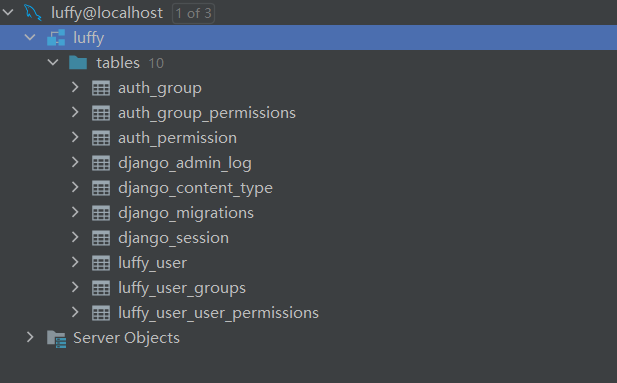
user表设计
这里基于auth的user表扩写,千万要注意,扩写好之前不要先迁移数据库,如果迁移了就不行了
如果你已经迁移了,删除数据库,删除所有的migrations文件,包含你自己的app,和auth和admin这两个app
# 用户板块---》做成app
python ../../manage.py startapp user

# models.py
from django.db import models
from django.contrib.auth.models import AbstractUser

class User(AbstractUser):
    mobile = models.CharField(max_length=11, unique=True)  # 唯一,长度11
    # 需要pillow包的支持 ImageField继承自FileField
    icon = models.ImageField(upload_to='icon', default='icon/default.png')

    class Meta:
        db_table = 'luffy_user'
        verbose_name = '用户表'
        verbose_name_plural = verbose_name

    def __str__(self):
        return self.username
setting/dev.py
# 配置文件---》注册表
INSTALLED_APPS = [
    'user',
]

# 自定义User表
AUTH_USER_MODEL = 'user.User'


## 配置media
MEDIA_URL = '/media/'
MEDIA_ROOT = os.path.join(BASE_DIR, 'media')
安装pillow模块
# 安装pillow
pip install pillow
'''
Pillow是PIL的一个派生分支,但如今已经发展成为比PIL本身更具活力的图像处理库。pillow可以说已经取代了PIL,将其封装成python的库(pip即可安装),且支持python2和python3,目前最新版本是3.0.0
'''
迁移
python manage.py makemigrations
python manage.py migrate
前台创建及配置
我的是win平台,建议使用管理员打开cmd创建
# 创建项目
vue create luffycity
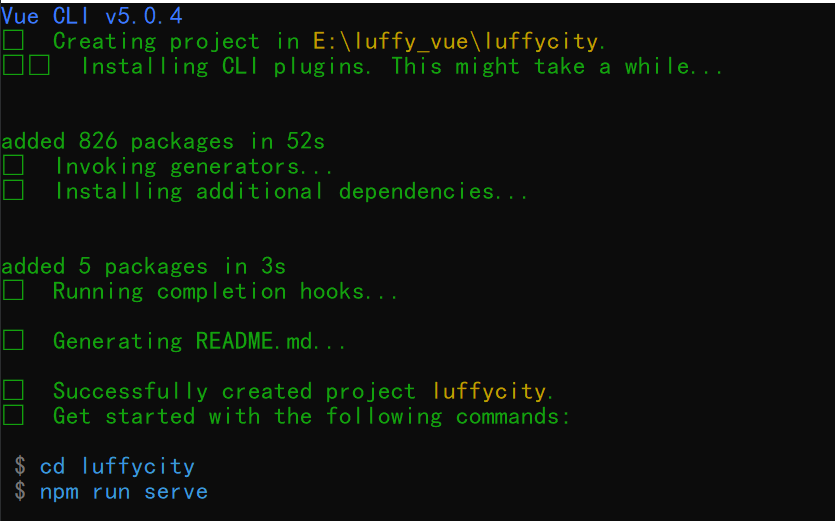
使用pycharm打开配置
-
删除
components/HelloWorld.vue,views/AboutView.vue -
views/HomeView.vue
<template>
  <div class="home">
    <h1>首页</h1>
  </div>
</template>

<script>

export default {
  name: 'HomeView',
  components: {
  }
}
</script>
router/index.js
const routes = [
  {
    path: '/',
    name: 'home',
    component: HomeView
  },
]

// index.js种routes里删除下面的内容
{
    path: '/about',
    name: 'about',
    // route level code-splitting
    // this generates a separate chunk (about.[hash].js) for this route
    // which is lazy-loaded when the route is visited.
    component: () => import(/* webpackChunkName: "about" */ '../views/AboutView.vue')
  }
APP.vue
<template>
  <div id="app">
    <router-view/>
  </div>
</template>
-
集成elementui 、bootstrap、jquery、axios
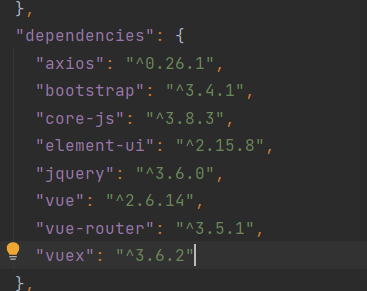
// elementui ,bootstrap,jquery,axios配置
// axios
npm install axios  -S
// main.js
import axios from 'axios'
Vue.prototype.$axios = axios;

//elementui
npm install element-ui -S
// main.js
import ElementUI from 'element-ui';
import 'element-ui/lib/theme-chalk/index.css';
Vue.use(ElementUI);

// bootstrap和jq
npm install jquery -S
npm install bootstrap@3 -S
// vue.config.js
const {defineConfig} = require('@vue/cli-service')
const webpack = require("webpack");
module.exports = defineConfig({
    transpileDependencies: true,
    configureWebpack: {
        plugins: [
            new webpack.ProvidePlugin({
                $: "jquery",
                jQuery: "jquery",
                "window.jQuery": "jquery",
                "window.$": "jquery",
                Popper: ["popper.js", "default"]
            })
        ]
    },
})

// main.js,导入
import 'bootstrap'
import 'bootstrap/dist/css/bootstrap.min.css'
全局css样式配置
assets/css/global.css
/* 声明全局样式和项目的初始化样式 */
body, h1, h2, h3, h4, h5, h6, p, table, tr, td, ul, li, a, form, input, select, option, textarea {
    margin: 0;
    padding: 0;
    font-size: 15px;
}

a {
    text-decoration: none;
    color: #333;
}

ul {
    list-style: none;
}

table {
    border-collapse: collapse; /* 合并边框 */
}
main.js
// 把自己定义的global.css 引入
import './assets/css/global.css'
配置文件配置
assets/js/settings.js
export default {
    base_url: "http://127.0.0.1:8000"
}
main.js
// 导入自定义配置
import settings from './assets/js/settings'
Vue.prototype.$settings = settings;
标签:name,配置,js,luffy,user,Luffy,import,css,前台 来源: https://www.cnblogs.com/48xz/p/16166747.html
本站声明: 1. iCode9 技术分享网(下文简称本站)提供的所有内容,仅供技术学习、探讨和分享; 2. 关于本站的所有留言、评论、转载及引用,纯属内容发起人的个人观点,与本站观点和立场无关; 3. 关于本站的所有言论和文字,纯属内容发起人的个人观点,与本站观点和立场无关; 4. 本站文章均是网友提供,不完全保证技术分享内容的完整性、准确性、时效性、风险性和版权归属;如您发现该文章侵犯了您的权益,可联系我们第一时间进行删除; 5. 本站为非盈利性的个人网站,所有内容不会用来进行牟利,也不会利用任何形式的广告来间接获益,纯粹是为了广大技术爱好者提供技术内容和技术思想的分享性交流网站。